Working long hours in a sweltering tractor cab is uncomfortable and can even be dangerous. Retrofitting a 12-volt air conditioning system can significantly improve your working conditions, but it's a project that demands careful planning and execution. This guide provides a step-by-step approach to installing a 12-volt AC system in your tractor, covering everything from assessing your tractor's capabilities to choosing the right system and completing the installation. Whether you're a seasoned mechanic or a DIY enthusiast, this guide will help you navigate the process safely and effectively. For more resources, check out this helpful guide on tractor AC units.
Assessing Your Tractor: A Pre-Installation Checklist
Before you start shopping for air conditioning units, you need a thorough understanding of your tractor's electrical system. Think of it like this: you wouldn't connect a powerful sound system to a car with a weak battery, would you? The same principle applies to installing a 12V AC unit.
Electrical System Evaluation
The power demands of a 12-volt air conditioner, especially a powerful one, are substantial—typically 60 to 80 amps or more. Check your tractor's alternator output. Many older tractors have lower-output alternators (perhaps only 55 amps), necessitating an upgrade to a higher-capacity model. This is often a prerequisite for successful installation. Don't forget to check the amperage of your existing wiring too—upgrades may be needed here as well. "Adequate wiring is crucial for safety and performance," advises John Miller, Master Electrician at Miller Electrical Services.
Space Assessment
Next, carefully assess the space available in your tractor cab. The AC unit itself is not the only component; you'll also need room for the evaporator, condenser, and associated components. Measure carefully and sketch out your plan.
Wiring Inspection
Before proceeding, thoroughly assess your tractor's existing wiring. The additional load from the AC unit may demand a heavier gauge wiring (lower number gauge indicates thicker wire) to ensure safe and efficient operation. Proper grounding and fuse protection are also critical safety aspects.
Choosing Your 12-Volt Air Conditioning System
There are two main types of 12-volt tractor cab air conditioning systems:
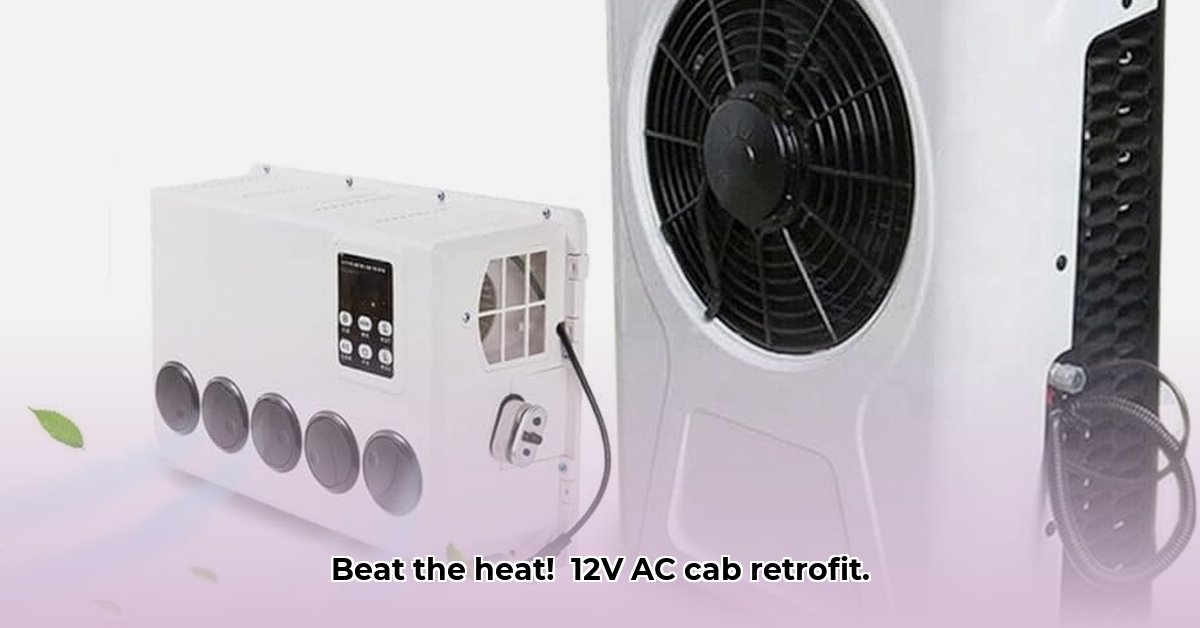
12V Mini-Split Systems
These systems are common in larger vehicles and offer powerful cooling, but their significant power consumption (60-80+ amps) often necessitates substantial electrical system upgrades, including alternator and potentially battery upgrades. "The cooling power is excellent, but the upfront investment and ongoing maintenance costs are significant," notes Sarah Chen, Senior Engineer at Acme Agricultural Technologies.
120V Inverter Systems
These systems use an inverter to convert 12V DC power from your tractor's battery bank to 120V AC for the air conditioning unit. This places less strain on your tractor's alternator but requires a substantial battery bank for consistent performance. Inverter efficiency impacts the overall power draw.
Here's a comparison table summarizing the key differences:
| System Type | Power Consumption | Installation Complexity | Cost | Pros | Cons |
|---|---|---|---|---|---|
| 12V Mini-Split | Very High (60-80+ amps) | High | High | Powerful cooling; proven reliability | Requires significant electrical upgrades; expensive; potential for corrosion |
| 120V Inverter System | Moderate (depends on unit) | Moderate | Moderate | Less strain on tractor's electrical system; potentially lower initial cost | Requires battery bank; inverter adds complexity; potentially less cooling |
Step-by-Step Installation (12V Mini-Split Example)
This section outlines the installation of a 12V mini-split system. Remember, this is a simplified guide and professional installation is always recommended. Improper installation can be dangerous and void warranties. Always consult a qualified professional if you're unsure about any step.
Alternator Upgrade: For most 12V systems, a higher-output alternator is essential. Professional installation is strongly recommended for this step.
Battery Bank Enhancement: Consider adding additional batteries for consistent power, especially during prolonged use. This is crucial for 12V units but less important for 120V inverter systems.
Wiring Upgrade: Increase the gauge of the wiring to handle the higher amperage. Incorrect wiring is a significant safety hazard.
Mounting Units: Securely mount the indoor (evaporator) and outdoor (condenser) units, ensuring unrestricted airflow.
Refrigerant Line Connection: This step is best left to experienced HVAC professionals due to the handling of refrigerants that need special tools and care.
Electrical Wiring Connections: Connect all electrical components carefully and double-check all connections. An improperly wired unit not only fails to work but can also pose serious safety risks.
System Testing: After installation, fully test the system to ensure proper operation.
Troubleshooting and Maintenance
Even with proper installation, issues can arise. Here are some common problems and solutions:
No Cooling: Check power supply, refrigerant levels, and compressor operation. Professional assistance is often necessary.
Weak Cooling: Check for obstructions (dirt, debris) and low refrigerant levels. Regular cleaning is essential.
Electrical Issues: Carefully examine fuses, wiring, and connections.
Regular maintenance, including annual refrigerant checks and cleaning, is crucial to extend the life and efficiency of your 12V AC system.
Conclusion
Retrofitting a 12-volt air conditioning system to your tractor can dramatically improve comfort and safety, and this guide provides a solid framework for success. However, remember that safety and proper installation are paramount. Consult with qualified professionals for steps you're unsure of – it's the smartest way to ensure a cool, safe, and functional upgrade for your tractor.